

Sloppy Sardine
by Emily
Who said sardines are gross? As a nutrition student, I am always trying to find delicious ways to get my health on. Sardines are a source of omega-3 fatty acids that are more potent, cheaper and ecologically friendlier than salmon.
Step 1: Get your ingredients.
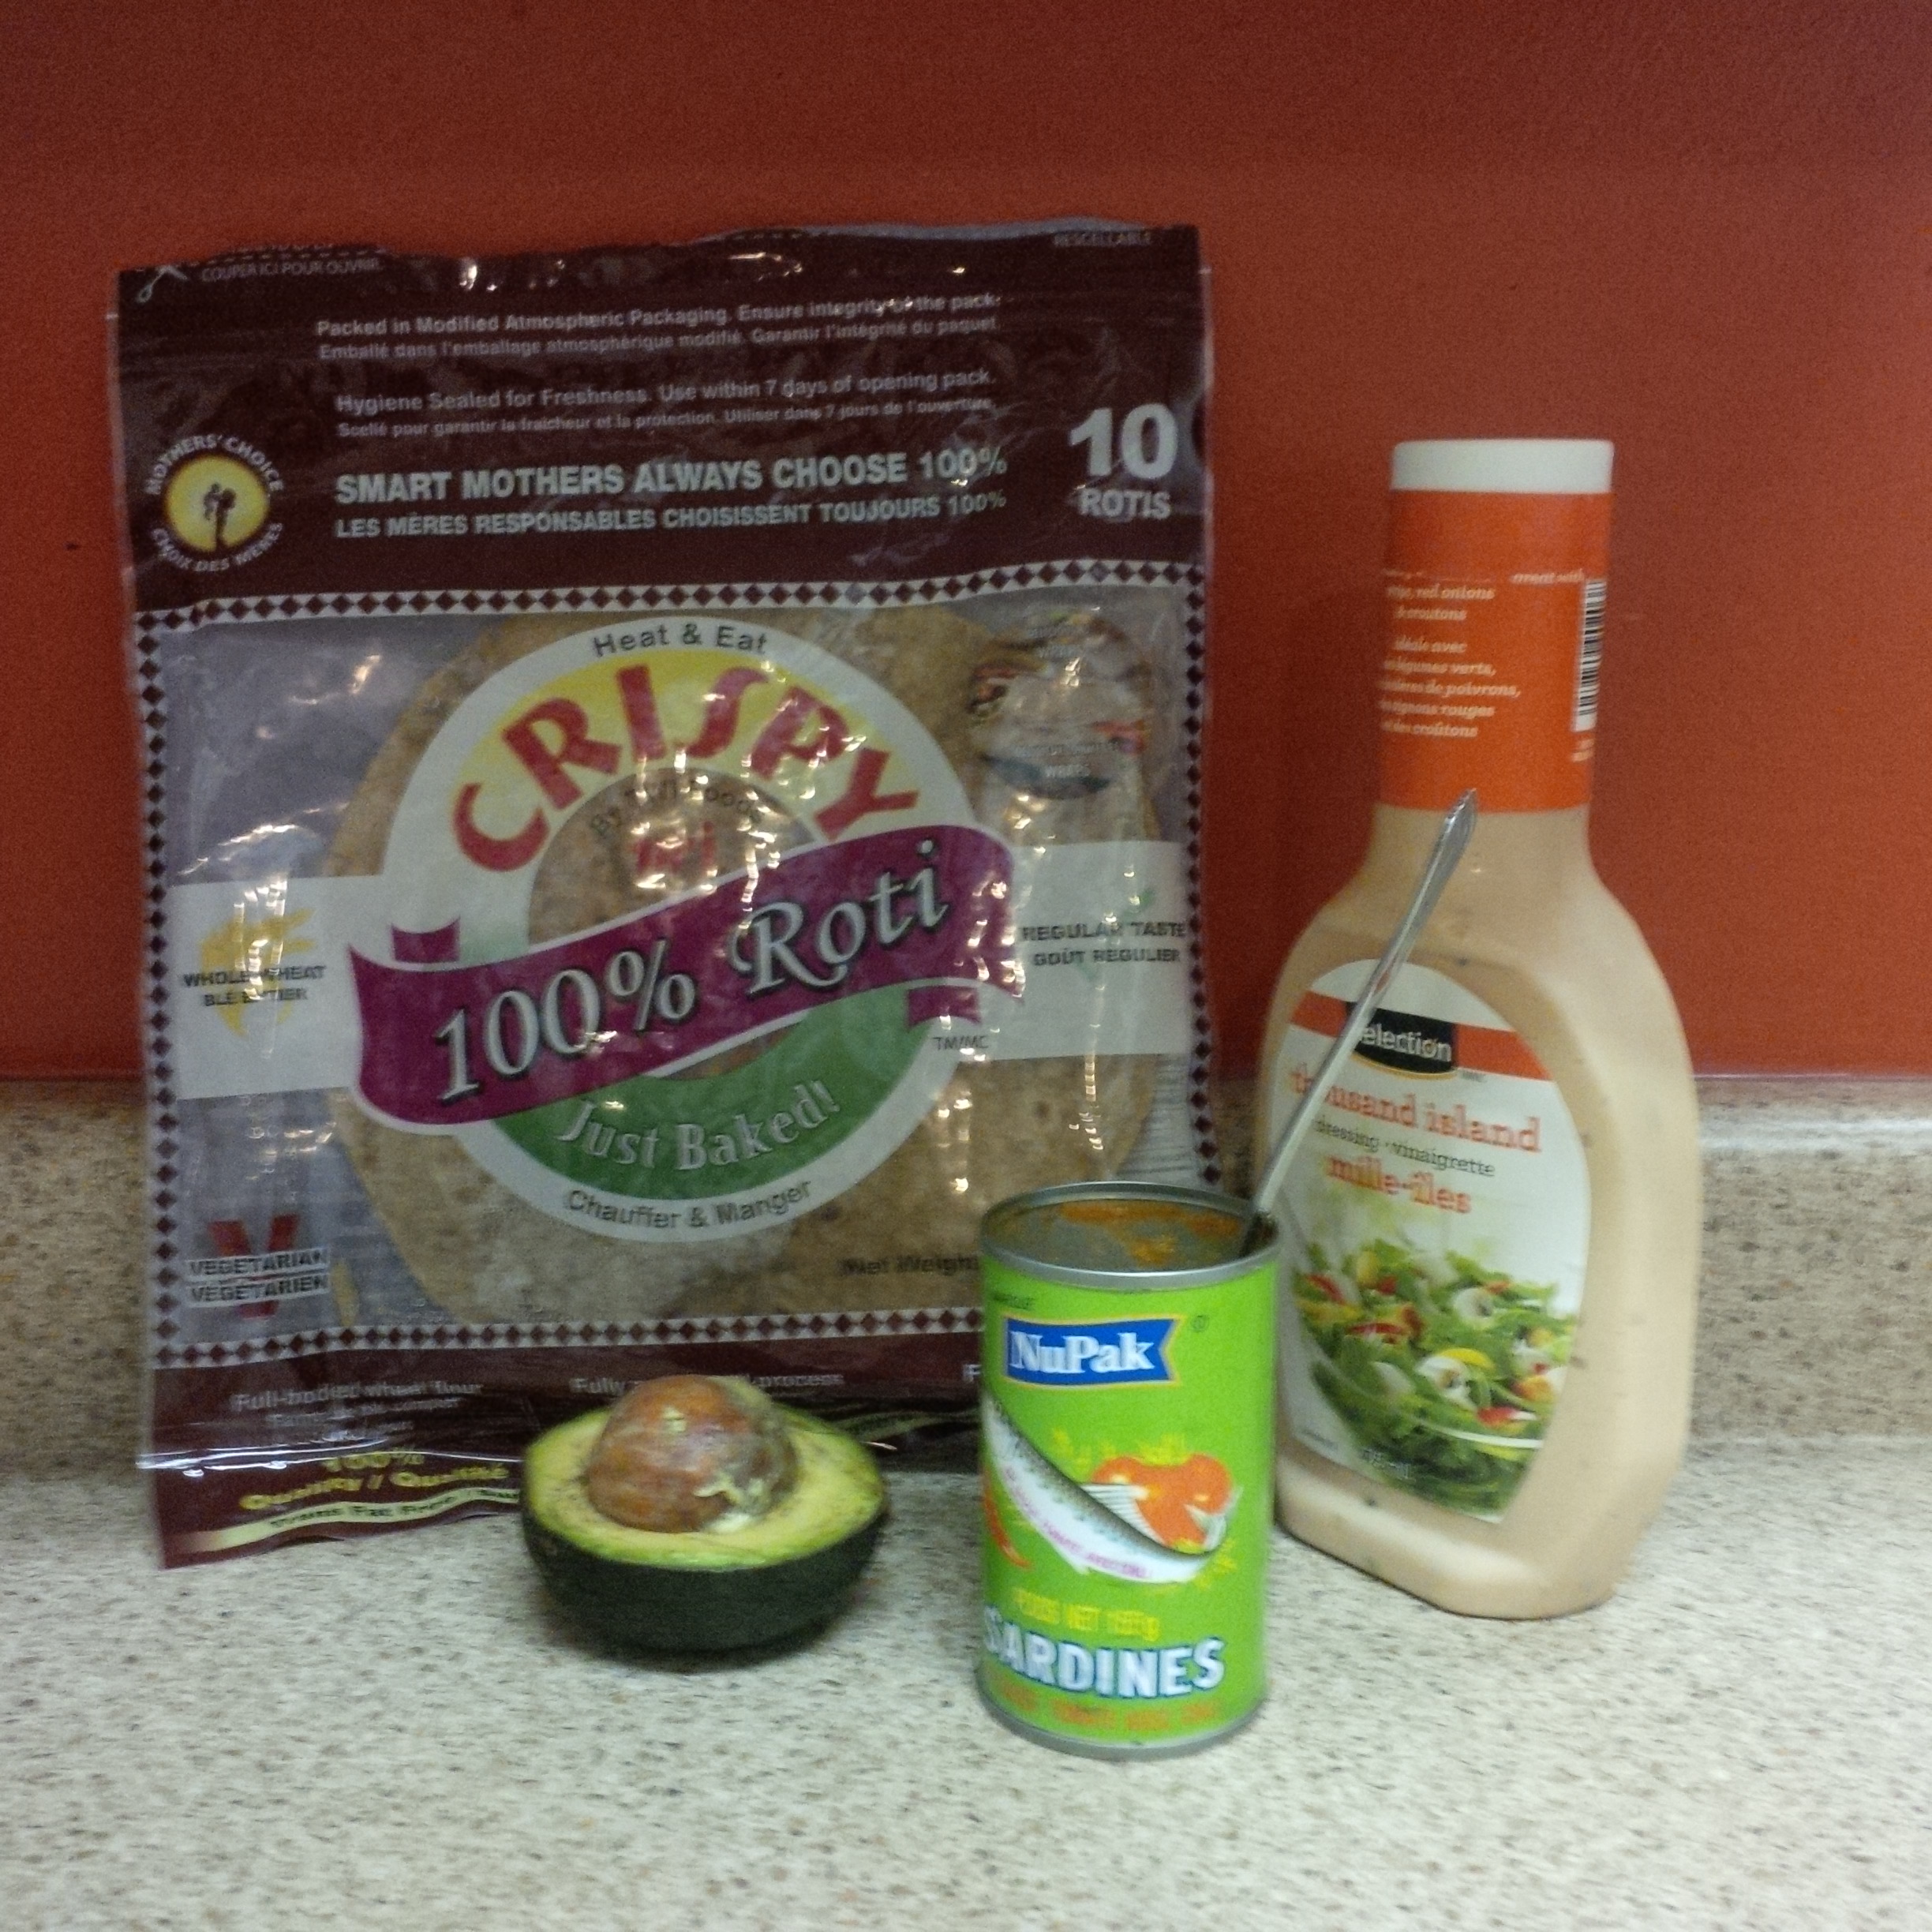
One whole wheat roti (or tortilla), half an avocado, half a tin of sardines packed in tomato sauce and chili peppers (about two pieces of fish), salad dressing (I used Thousand Island).
Step 2: Put it all together.
Smear all the avocado onto the roti, place the two pieces of fish in the centre, drizzle with dressing (1) and fold the roti from each side along the length of the fish. Tuck the bottom of the roti under, flip so that the fold in facing down and place on a frying pan (2).


Step 3: Slow fry (no oil).
No need for oil here. Keep over medium heat (about 4 on a stove) and allow your wrap to slowly sizzle for about 5 minutes on each side. Slow heating for a long time will ensure a Sloppy Sardine that is crispy brown, not burnt!

Step 4: Eat!
It ain't called Sloppy Sardine for no reason.
Cost and time breakdown:
Roti: $1.77 for a pack of ten. Avocado: $2.77 for a pack of five. Tin of sardines: $0.79 for a 155g can. Salad dressing: stolen from a housemate (ok, fine be ethical and buy a bottle for $1.99).
Time: about ten minutes.
Valuable attributes: quick, simple, cheap, nutritious.
Cost of one wrap: about $1.92.
That's a wrap!
The Stew
By Emily
You want healthy? This stew’s got it. Lentils. Bam! Beans. Bam! Barley. Blam-o.
Ever wondered what to do with that $1.89 bag of dry soup mix you see at the grocery store?
With but a few cheap ingredients and a bit of finesse, the prospect of a delicious stew hovers in your near future.
Ingredients:

3 large carrots, peeled and coined (you can halve the coins if you wish)
3 stalks celery, chopped
1 onion, chopped
1-2 tbsp vegetable oil (olive, canola, corn, etc.)
1.5 cups dry soup mix (NuPak, pic, price)
1 tbsp dried sage (can use oregano, Italian herbs, or rosemary in its place, or all together… meh.)
8 cups water (don’t fill your slow cooker to the brim – it will spill over while cooking!)
1 potato diced (leave the skin on but wash before you dice)
Salt to taste (start with ½ teaspoon) *if you have fancy flavoured sea salt, feel free to use that.
½ teaspoon black pepper
Step 1
I think it goes without saying, but I’m going to say it anyway: wash your vegetables thoroughly before you begin.
Sautee chopped onions, carrots, and celery over low heat for a fair bit, until your onions start to become translucent. Set your heat to about 3 or 4 on the stovetop, then, stand back and let those onions sweat!
Be sure to stir occasionally to avoid burning.
In about 10-15 minutes you will have a lovely (pseudo) mirepoix. Thank you Michael Pollan.
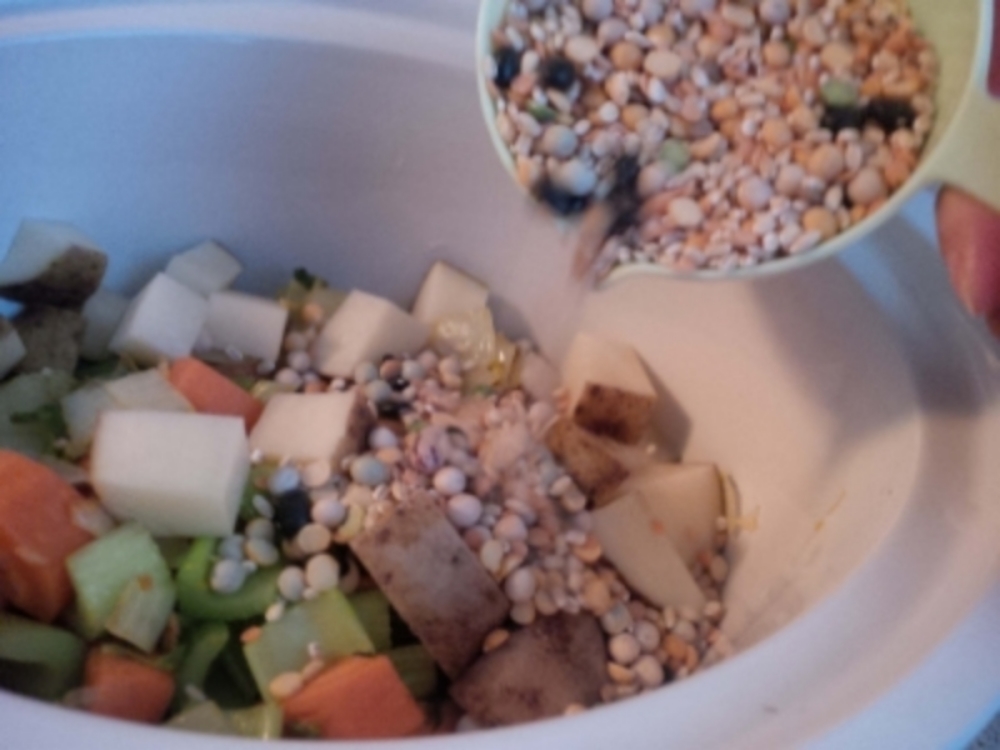
Step 2

Add your pseudo mirepoix, dry soup mix, herbs, salt, black pepper, and diced potato to a slow cooker. Fill with water and cook on high for about 8 hours, until the stew… just looks right. You’ll know. It should be thick and stew-ey. Cook on low for a couple more hours if the consistency isn’t right yet. Adjust with additional salt/pepper to taste at the end.
Note: this recipes is extremely versatile. Once I made it with random rosemary ham that a friend unloaded on me. I diced up the ham into ½ inch cubes, added to the soup, set the slow cooker to high and just walked away. It was awesome. Very ham and split-pea soup-ish. The vegetarian version works great though.
I challenge you to make a more nutritious and economical

Mudcake. It's like mud, but you can eat it.

Put stuff in dish. Mmmmm, stuff.

Put more stuff in dish.

The mudcake, in it natural, puddle form.
Mud Cake
So easy. So bad, but sooo good. A quick mix-and-dump recipe for chocolate cake that is more like a brownie. Crispy on the outside, cakey on the inside, and a sort of pudding in the centre.
Step 1: Get your ingredients.
1 C flour
1 C cocoa powder (divide into ¾ cup and ¼ cup)
2 tsp baking powder
½ tsp salt
¾ cup white sugar (divide into ½ cup and ¼ cup)
¾ cup brown sugar
1 C milk
¼ C butter
1 egg
1 tbsp vanilla extract
¾ cup coffee (room temperature).
1 big mixing bowl, two smaller bowls (can be soup bowls).
Step 2: Put it all together.
Bowl 1 (mixing bowl)
Add: flour + ¾ cup cocoa + baking powder + salt. Whisk until blended.
Bowl 2 (smaller bowl)
Add: milk + ½ cup white sugar + butter + egg + vanilla. Mix until smooth.
Add bowl 1 to bowl 2 and mix until combined (doesn’t have to be completely smooth). Transfer to baking dish.
Bowl 3 – whisk ¼ cup white sugar + ¼ cup cocoa. Spread powder evenly over batter. Pour coffee evenly over this.
Step 3: Bake
Bake at 350°F for about 25 minutes. Do not overbake! It will be loose in the middle.
Curry Mango Coconut Chicken
Mango chicken that is a breeze to make.
Step 1: Get your ingredients.
1 lb chicken breast, 1 can coconut milk, ½ cup mango pulp puree, curry powder or paste (I used Patak’s mild curry paste from No Frills), 1 white or yellow onion, 4 or 5 cloves of garlic, 1 inch of garlic.
Step 2: Fry up your curry base.
This is the most basic step in Indian cooking. Chop up your onion, garlic and ginger and sauté with oil over low to medium heat until the onions start to become clear. Don’t burn this! Lower heat is better and stir frequently. Add your curry paste and chicken (chopped into bite-sized pieces). Mix and fry for about 10 minutes over medium heat.
Step 3: Add coconut milk and mango puree.
Stir and allow to cook over medium heat for about 10 minutes. Stir frequently as the bottom can burn easily.
Step 4: Eat!
Goes well with Naan, roti, or rice.
Tip: If you have extra mango puree, use it in smoothies.
Mango puree + plain yogurt and ice = Mango Lassi (Indian mango shake).


Easy bean salad
A healthy lunch that’ll cost you about $5 a week. Fast, cheap, delicious, and good for you.
Ingredients:
Dressing:
Olive oil
Apple cider vinegar
Honey or brown sugar
Salad:
Some diced onion
A can of chickpeas (or garbanzo beans, because that’s a fun word to say…GARBANZO!!!)
A can of black beans
A can of corn (peaches and cream, summer crisp, whatever’s clever…just not creamed corn.)
Directions (for 1 serving. It’s true. You don’t have to make a huge batch at once):
Step 1. In a bowl or a container that you’re taking with you, we’ll start with the dressing. Put about a tablespoon of olive oil, 1-2 capfuls of apple cider vinegar (I’d say that’s about 1-1.5 teaspoons, but it’s easy enough to just use the cap for the vinegar), and a squirt of honey/pinch of brown sugar.
Step 2. Mix this all together.
Step 3. Dressing done. Took you about 23 seconds. Coincidentally, this is a fabulous dressing for a green salad as well. It’s like jeans that you can dress up or dress down. Practical and awesome.
Step 4. Dice up some onion. Onion is a taste thing. If you like things really oniony, add more. If you just like a touch, add less. I usually end up with at least a tablespoon’s worth. Add this directly to your bowl/container.
Step 5. Open the canned items. Usually a good idea to drain the contents, and then wash them, but people don’t always want to bother with that, so you be the judge.
Step 6. Put 3 tablespoons of each item into your bowl/container (unused portions of canned stuff can go into sealable containers for future use).
Step 7. Mix everything together.
Step 8. You’re done.
Step 9. Eat.
Step 10. Repeat as necessary.